Chủ Nhật, 27 tháng 11, 2011


nem lầu chay XONG.jpg 


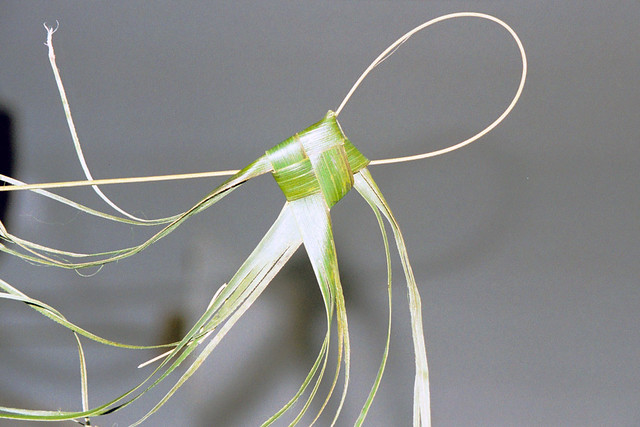
Can be woven loosely for a grape effect or folded tightly for a pyramid shape.


Folding a pyramid with palm leaves, video tutorial
photo

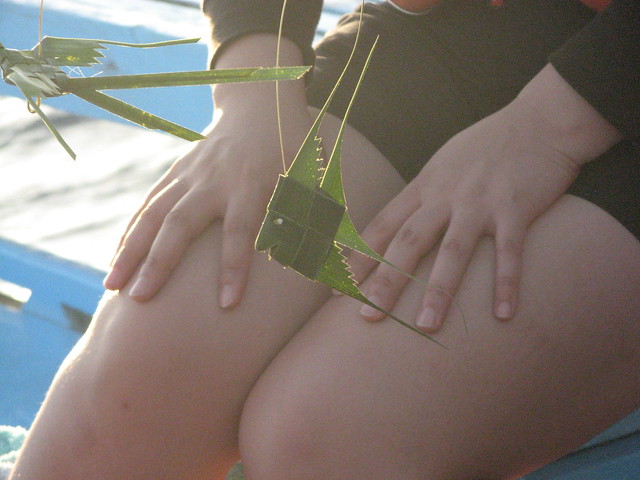
Easy way to folding fish (palm leaves and paper)

Palm Leaf Fishes


photo
Palm frond art
While riding in a boat tour around the cultural center, Mary learned how to make this fish from a palm frond.
Things You Need:
1.   Piece of palm leaf
2.   Scissors
3.   Ruler
4.   Small knife
Tutorial
1. Take a piece of palm leaf.
2. Use the small knife or your thumb fingernail and insert it at the base of the stalk.
3. Run the knife or fingernail down the base of the stalk, all the way to the tail end of the palm. 
4. Pull off the stalk and save it for later use.
5. Take the two pieces, (still intact at the widest end) measure one inch from the widest end and cut.
6. Take the two cut pieces and even the up.
7. Take the ruler and measure 14 inches from the cut end.
8. Take the scissors and cut at the 14 inch mark.
9. You now have two even pieces of leaf to make your pinwheel.
10. Take the two even pieces of palm and make a cross.
11. Use the left thumb and first finger to hold the pieces together in the center.
12. Bend the top end of the vertical piece towards the center, and hold it with your thumb in place. 
13. Repeat the same process with the bottom vertical piece.
14. Hold the pieces of palm with your left fingers and use your right thumb and first finger to bend and insert the right horizontal end into the top loop.
15. Repeat the same process with the left piece and bottom loop.
16. Use the right thumb, slowly release and slip the end of the bottom loop into the right loop
17. Repeat the same process for the left side.
18. Use all your fingers to pull and hold the four ends, while forming the pinwheel.
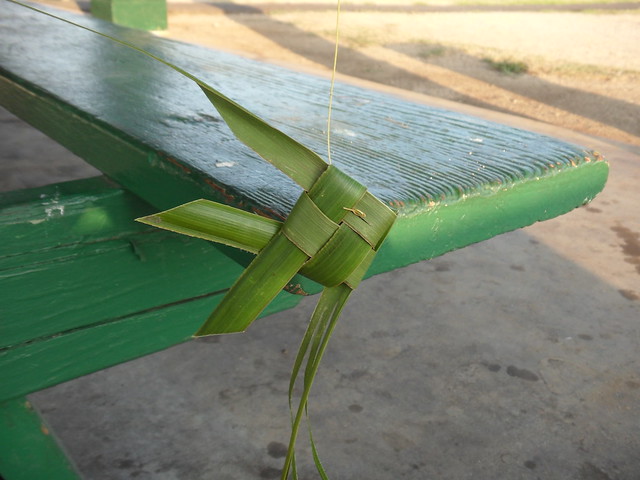
 19. Folding the pinwheel wing at the right bottom  parallel to the diagonal.

20. Using the the pinwheel wing at the right top, folding over the pinwell wing that  parallel to the diagonal and threaded down the diagonal.
21. Using scissor to cut fins for the fish
To make paper fish you can make with the same way.
photo
Palm Fish
photo


Photo: http://flick.com

Thứ Năm, 24 tháng 11, 2011

Butterfly back    Palm leaf Hopper tutorial
Palm leaf
Split the leaf
Remove a leaf from a palm.
Using a pin split the leaf in three, separating the hard center vein from the leaf at both sides. Leave the last 2cm intact at the side that was connected to the palm.
Carefully run your nail along the vein to soften it so that it’s more pliable. Fold the vein back on itself and tuck under the leaf where it’s still connected. It might be easier for you to use a tiny bit of putty or Oasis fix to keep the vein in place while you practice doing this and later you will find it’s easy to hold in place while you weave the body.
Start weaving the body
Fold one side under and then over the vein. Pull tight. Do the same with the other side and pull tight.
Continue weaving the body two or three more times depending on the length of your palm leaf.
Butterfly Body
Butterfly Body
Create feelers (Antenna) by tucking the two sides of the leaf into the vein loop and pulling the vein snug. Separate the side strips and carefully run your nail through the length of each to curl as you would ribbon.
Butterfly Feelers
Tie and curl the Butterfly Feelers
Butterfly back
Top of the Butterfly

Finish off the body by weaving the long center vein around itself and cut short. Cut the tail end if required.
Butterfly or Grasshopper
Fly or Hop?
You can now add leaves for wings or cut the left-over vein in 2 for legs to tuck into the body.
Grasshoppers
Grasshoppers
Read more: http://www.christinedebeer.co.za/?p=1119

Thứ Ba, 22 tháng 11, 2011


Fried Heart egg for Valentine, video tutorial (5 minutes)

Material:
- Egg
- Oil
- Heart-shaped mold

Fried Heart egg for Valentine, video tutorial (5 minutes)

Step 1:
- Heat the oil


Step 2:
- Place the mold on the pan and break the eggs into the mold, how the egg yolks in the middle of the heart-shaped.

Step 3:
- When the egg is almost cooked then remove the surplus eggs outside the mold and pick up the mold.


Now you can decor for  the plate ...


Valentine food gifts: heart egg video tutorial

Chủ Nhật, 20 tháng 11, 2011

http://farm5.staticflickr.com/4010/4331449567_0d1557b7e5.jpg
This was pretty tricky to make, especially since some of the pictures in the tutorial are a tad misleading (thanks to light glaring off the shiney ribbons). I think I sat in my living room repeating the first 9-10 steps over and over again for an hour or so, because I couldn't slip the ribbon into the correct slot and the darned thing undid itself each time... D:

ORIGAMI Ribbon Heart , video tutorial

http://fc03.deviantart.net/fs50/i/2009/299/5/f/Origami_Ribbon_Heart_by_robinina110.jpg
So this is made of some shiny Christmas ribbon. = D it's into a heart, and made of 14 little "flower" units or whatever you want to call them.

this took a few hours all together over the course of a few days. I put the whole HEART shape thing together after I got home from school. So much work for such fragile ribbon.

It's about as big as the basket I made, about 4 inches high and 5 inches long. = D very nice for a Christmas present, eh?
deviantart.com

Thứ Tư, 16 tháng 11, 2011

Crochet patterns, Beautiful tableclothes
photo

Ice Cream Cone Doily by Joyce Bragg

photo

Rose Garden Doily by Kathryn White
d=26 cm Hook 1.25
photo

Vintage Charm Antique Doily by Carol Alexander
d=18cm Hook #1.00
photo
Ring of Love Doily by Diane Stone Ring of Love Doily by Diane Stone
d=20,5 cm Hook 1.25/ 1.00

photo

Ice Cream Cone Doily by Joyce Bragg
d=16 cm Hook 1.0 mm
photo

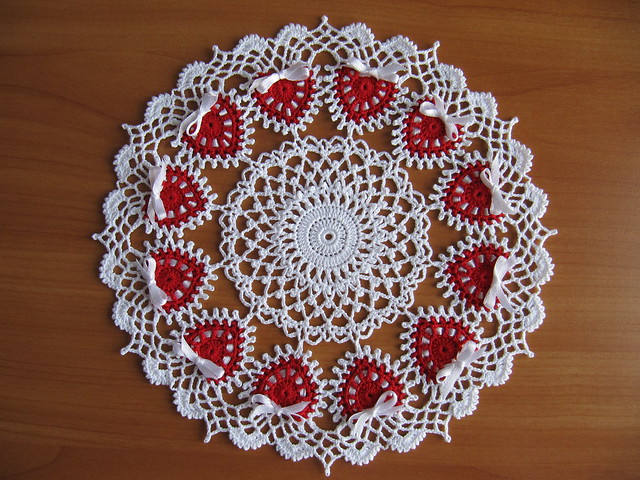
Tiny Hearts Doily by Diane Stone
d=19 cm Hook 1.00
photo

Pineapple Whirl by Elizabeth Hiddleson
photo

Double Pineapple Doily by American Thread Company
d=40 cm Hook № 1
photo

Rustic & Irish Rose Table center
d=23cm Hook № 1
photo

Gothic Lace Doily by Elizabeth Ann White
Gothic Lace Doily by Elizabeth Ann White (BellaCrochet)
d=29 см
Source: http://www.flickr.com/photos/nik_oc


Crochet patterns, Beautiful tableclothes

Thứ Hai, 14 tháng 11, 2011


Hoppin' Hat tutorial: free knitting pattern


I used size 10 needles and worsted weight yarn. Cast on 52 stiches. Work in a 2x2 rib pattern for about an inch. Then switch to pink yarn. Knit only in the round for about an inch and a quarter in the pink. Switch back to gray for the next inch. Then switch to blue and knit for an inch and a quarter.


Now here is the trickiest part of this whole hat. take half your stitches and put them onto a spare needles or a scrap of yarn. Then you join the first set of stitches into a round. Switch into the gray yarn and knit about 5 rounds. Switch to your dark pink and knit for five rows. Switch back to gray and knit about five rows. Then switch back to green. Here I just knit until I felt like the ears were long enough. Then I decreased as following:

- *knit 3 k2tg* till last set of 5 stitches. this one I knit one then k2tg twice
- knit a round
- *k2, k2tg* till end of round
- knit a round
- *k1, k2tg* till end of round
Take remaining stitches and tie them off.

Then do the other ear in the exact manner.


Source: http://krafty-katie.blogspot.com/2011/05/hoppin-hat.html

Chủ Nhật, 13 tháng 11, 2011

 
Crafty jewelry: Granny Square Necklace tutorial


I love that shop...
And so I decided to create a granny square necklace in black and white.

Materials Needed:
White and black crochet thread [size 3]
Crochet needle [size G]
Scissors
Hot glue
Necklace chain


crochet 5 squares with crochet thread - 3 black ones, and 2 white ones.


Line the squares into a "V" shape, and tie the corners of the squares together to secure them:


Flip the "V" upside down, and hot glue a chain to the back:


Pair with your favorite black and white blouse:


Source: http://www.mandipidy.com/2011/03/yarn-it-all-tutorial-10-granny-square.html

Thứ Năm, 10 tháng 11, 2011

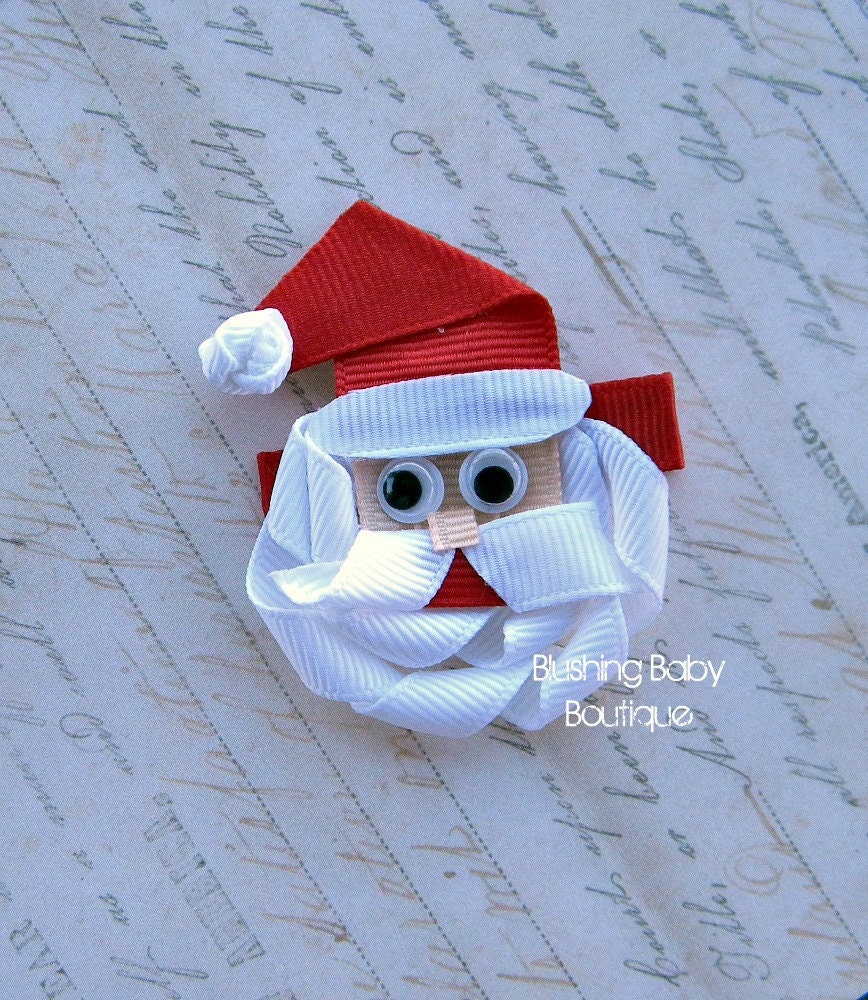
Cute Christmas Hair Clip


Santa Clause Hair Clip- Attached to Partially lined Alligator Clip-
From blushingbaby
Santa Clause Hair Clip- Attached to Partially lined Alligator Clip-
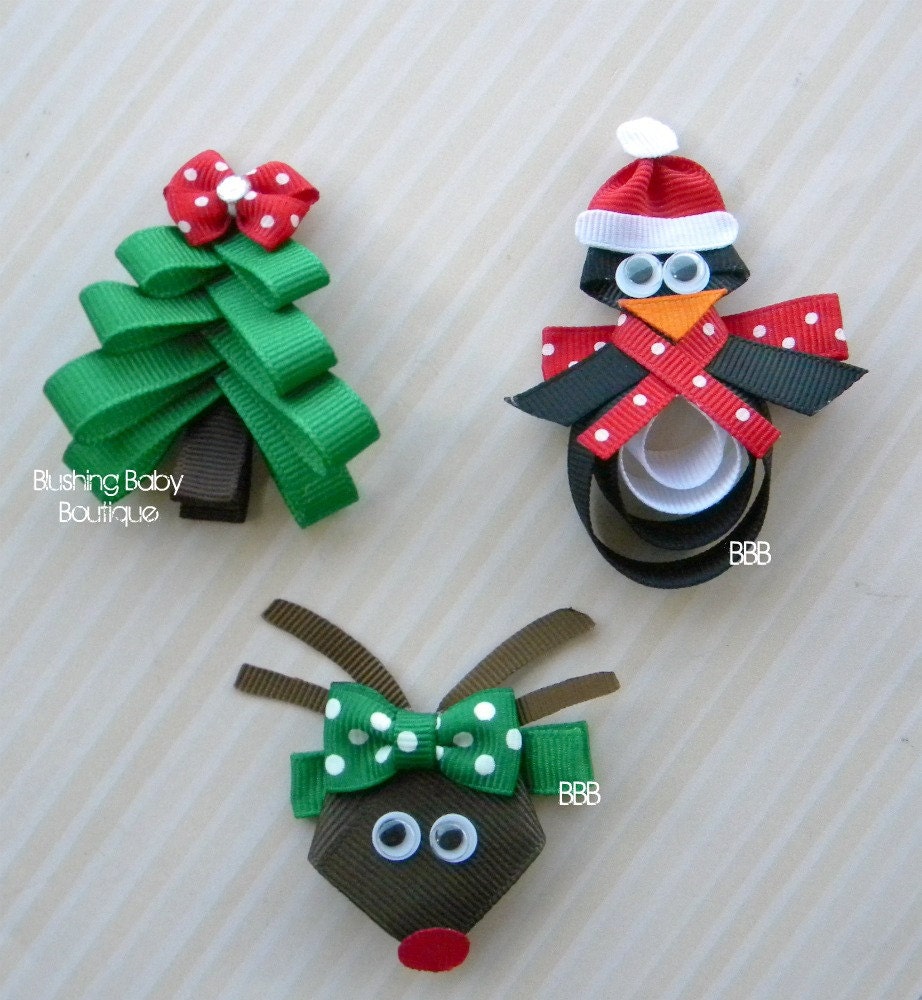
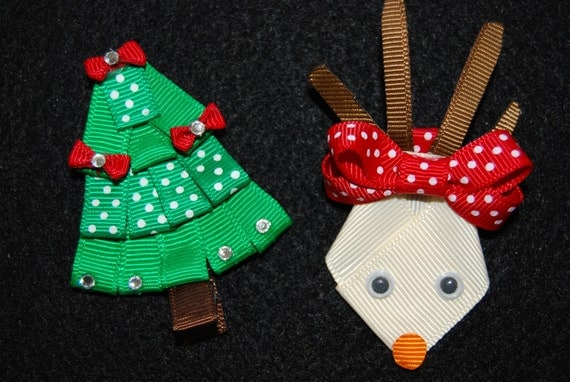
Christmas Trio- Set of 3 Christmas Hair Clips- O Christmas Tree- Paulie the Penguin- Santa's Little Reindeer
From blushingbaby
Christmas Trio- Set of 3 Christmas Hair Clips- O Christmas Tree- Paulie the Penguin- Santa's Little Reindeer
Christmas Trio- Set of 3 Christmas Hair Clips- O Christmas Tree- Paulie the Penguin- Santa's Little ReindeerFrom blushingbaby
Christmas Trio- Set of 3 Christmas Hair Clips- O Christmas Tree- Paulie the Penguin- Santa's Little Reindeer

This listing is for THREE (3) Holiday Hair Clips. You will receive the following by purchasing this listing:
-ONE 2" O Christmas Tree
-ONE 2.5" Paulie the Penguin
-ONE 2" Santa's Little Reindeer
All three of these clips are attached to partially lined alligator clips. They are made of grosgrain ribbon and will be a perfect addition to all holiday outfits.
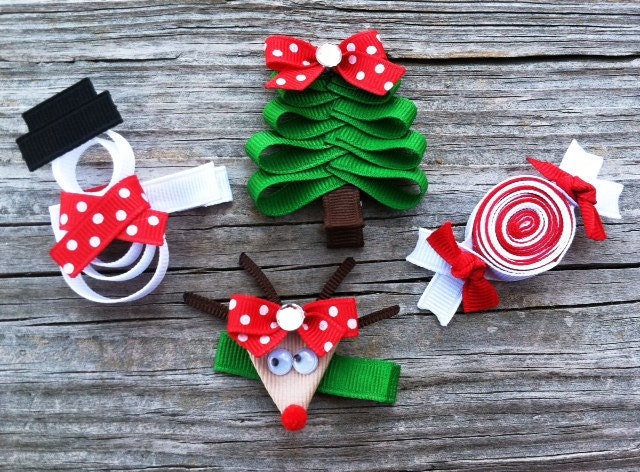
Set of 4.. Christmas Sculpture Hair Clip Set - Holiday Christmas Tree, Reindeer, Snowman, and Peppermint Candy - Free Shipping PromoFrom leilei1202
Set of 4.. Christmas Sculpture Hair Clip Set - Holiday Christmas Tree, Reindeer, Snowman, and Peppermint Candy - Free Shipping Promo
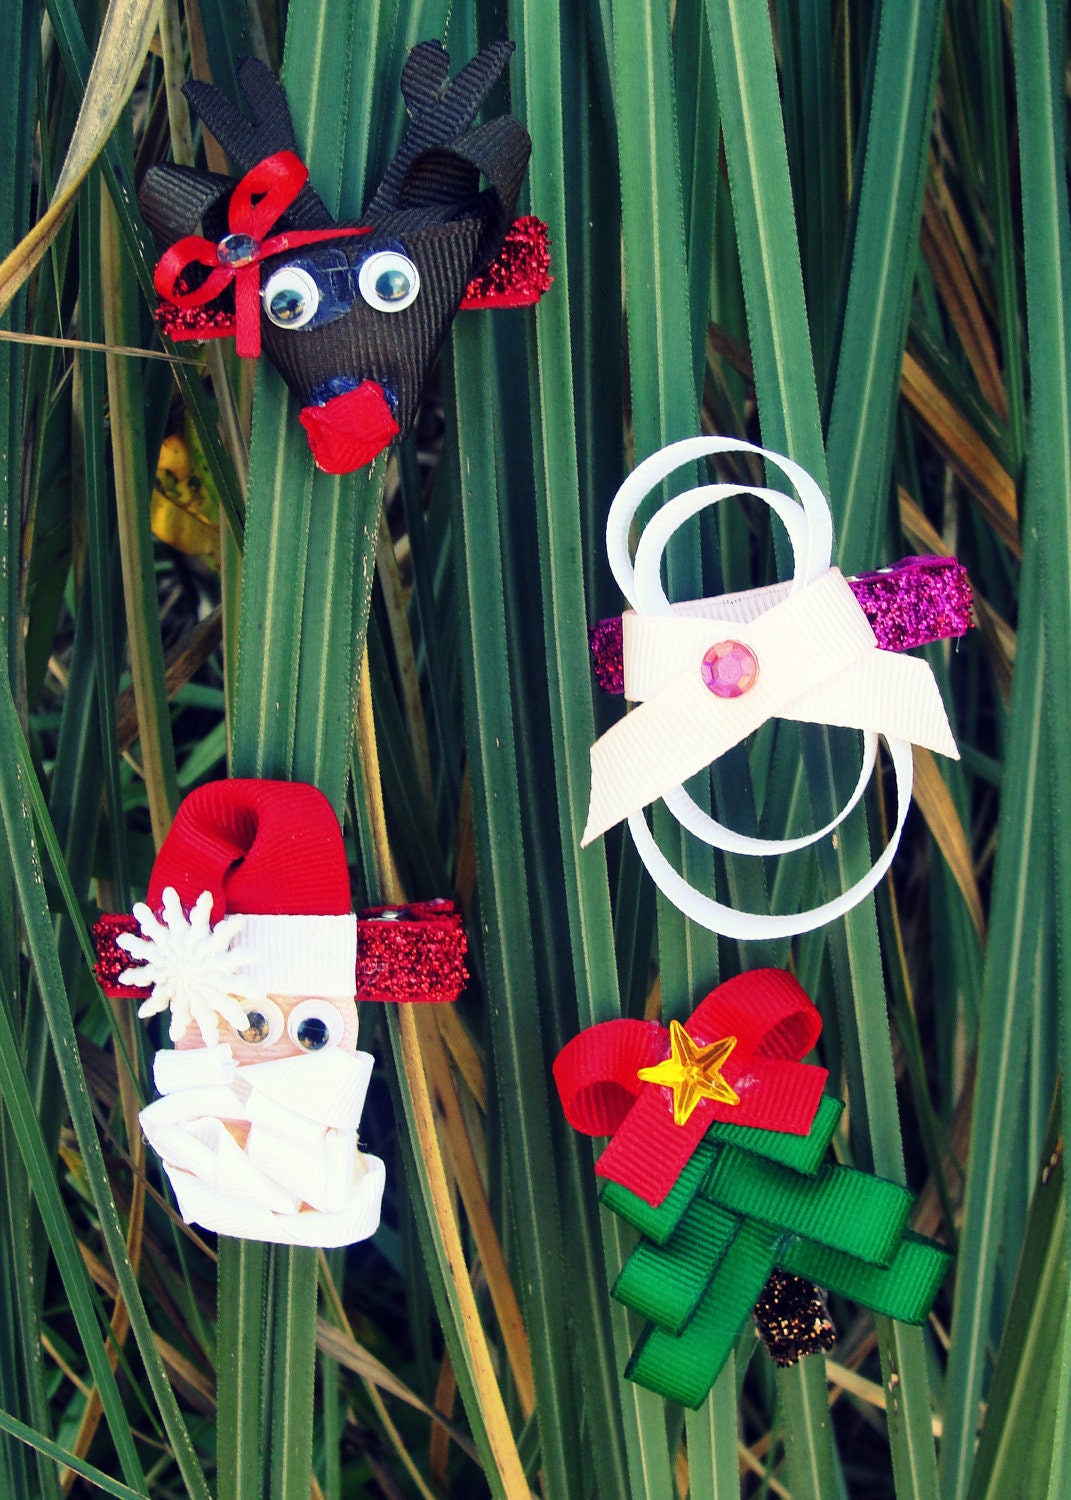
Set of 4 Christmas Sculpted Hair Clip Set-Reindeer, Snowman, Santa Clause and Christmas Tree
From kmostrander
Set of 4 Christmas Sculpted  Hair Clip Set-Reindeer, Snowman, Santa Clause and Christmas Tree

Hand sculpted Christmas hair clips. This listing includes rudolph, a girl snowman, santa clause and a Christmas tree. All on a half lined two prong alligator clip. Perfect for any and every outfit for the Christmas season.
Christmas Tree Rudolph the Red Nosed Reindeer Hair Clip Barrette great Stocking Stuffer AccessoryFrom LePetiteBirdie
Christmas Tree Rudolph the Red Nosed Reindeer Hair Clip Barrette great Stocking Stuffer Accessory

Thứ Tư, 9 tháng 11, 2011

Do it yourself Kit Green Case for laptop Put&Pull 
Flower leather fashion bags : video tutorial
Crafts for children DIY kit Fun bag Put&Pull
gold circles dream bag diy kit put&pull

Crafts for kids Cool bag DIY kit Put&Pull
craft set pencil case-white orange DIY KIT put&pull
Video tutorial

bạn là người thứ bao nhiêu?

nghe nhạc trực tuyếnNấu món chay | học nấu ăn DJ - Ảnh đẹp | xalotinnhanh